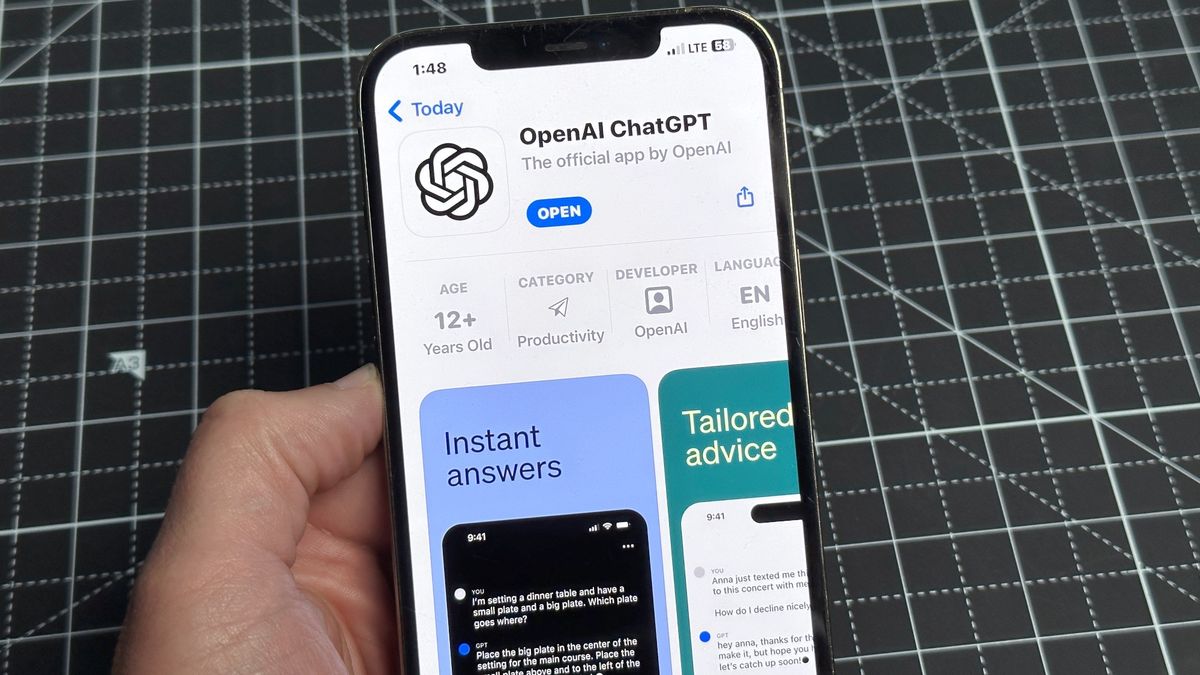
ChatGPT has been assisting users with inquiries and tasks, but did you know that paying subscribers can request ChatGPT to produce images for them? This capability is made possible through DALL-E 3, an AI model that transforms text prompts into images. This feature is accessible to ChatGPT Plus, Team, and Enterprise users, as well as developers via OpenAI’s API.
The image generation process occurs within the ChatGPT interface, allowing users to stay within the familiar chat environment. Users can engage with ChatGPT to enhance their prompts and create impressive AI visuals.
Steps to Generate Images using ChatGPT
Generating AI images with ChatGPT is a simple process. While a subscription is required for this feature (not available for free accounts yet), the process is akin to utilizing ChatGPT for text-based tasks.
1. Log in to ChatGPT
Sign in to your account or create a new one if you are a first-time user. However, a paid account is necessary to leverage ChatGPT’s image generation capabilities. Users with free accounts must upgrade to at least a Plus subscription to proceed.
2. Switch to the GPT-4 model
After logging in, switch to the GPT-4 model. While GPT-3.5 excels in text-related tasks, it lacks the ability to create images.
3. Input a Prompt for Image Creation
Select the ChatGPT 4 model and commence a new conversation or resume an existing one. Image creation is compatible with both options.
Simply request ChatGPT to create an image within the conversation, and DALL-E 3 will handle the rest. With enhanced nuance and detail comprehension, generating captivating images from your concepts is effortless.
For instance, I requested ChatGPT to craft a high-end restaurant-worthy burger with a side of fries.
4. Review the Generated Image
ChatGPT will swiftly present the newly created AI image. Review it to decide whether to keep it or request another iteration.
5. Regenerate the Image
If unsatisfied with the result, click on the regenerate button for ChatGPT to make another attempt.
6. Modify an Image
If regeneration doesn’t meet expectations, adjust your prompt. If you’re content with the image overall but desire specific alterations, instruct ChatGPT accordingly.
7. Experiment with Styles
Feeling creative? Provide ChatGPT with style preferences to customize your image. We transformed a burger into a minimalist illustration to demonstrate this capability.
8. Customize Colors
Satisfied with the style but seeking different colors? Communicate your preferences to ChatGPT for a fresh color scheme.
9. Request Multiple Images
By default, ChatGPT generates one image at a time. If you prefer multiple options for selection, specify this in your request.
10. Download Your Selection
To download your chosen image, click on it for a larger preview. Then, use the download button at the top right corner of your screen. Alternatively, hover over the image and select the download button that appears at the top left.
11. Review the Complete Prompt
For insight into the full prompt used by ChatGPT to create your image, click on the information button. ChatGPT will reveal the extended prompt utilized. Understanding the comprehensive prompt may aid in refining instructions for specific image alterations.

